Add Valley Trusses
You can use this function to define a valley truss area, and add
trusses to it with even intervals. In order to define the shape of
the valley trusses, select the upper and lower structures limiting
them, for example the slopes of the crossing roof and the main
roof.
- Select
 Trusses > Special Trusses >
 Valley Trusses.
- Select the truss parameters. The previously selected parameters
are the default parameters. You can reselect the parameters by
using the function
 Edit
truss parameters on the contextual toolbar.
 Valley truss
parameters
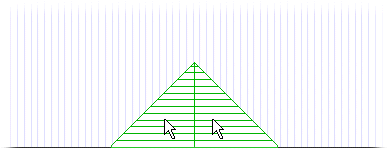
- Select the upper limiting structures. Select several slopes
with the Ctrl key pressed down or by using area selection.

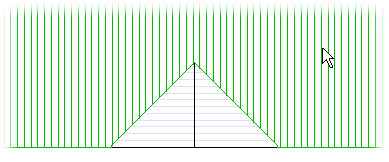
- If necessary, edit the truss area by adding or removing
sections of roof slopes. You can select following auxiliary
functions from the contextual toolbar:
- Select Confirm.
- Select the lower limiting structures, for example the slope of
the main roof.

- Select Confirm.
- From the contextual toolbar, select the location method, which
will determine the point from which the positioning of the trusses
will be started.
- If necessary, select the truss adjustment for gable trusses.
When you select the adjustment, the truss edge will be positioned
in the selected truss line point.
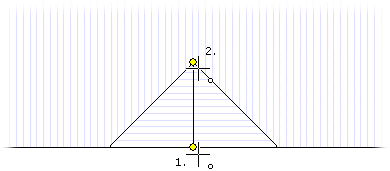
- Click the truss line points, or the first and last truss
position. The centers of the trusses are positioned in the selected
points, unless you have selected the truss adjustment for the gable
trusses. Please note, that the trusses are created perpendicularly
to the line between the selected points.

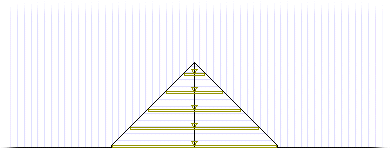
The program adds the trusses.

 Note
Note
- If a truss would be positioned on a chimney, it is not
added.
- You can later edit the truss area using the following
functions:
- Edit a Truss Area - editing involves
the exact same steps as adding a truss area.
- Update Truss Shapes - you can
reselect trusses' upper and lower structures. In addition, you can
define the distance between the top or bottom chord of the truss
and the limiting structure.
- Generate Trusses - you can reselect
truss parameters.
 Special
Trusses


