 Defining a limiting plane
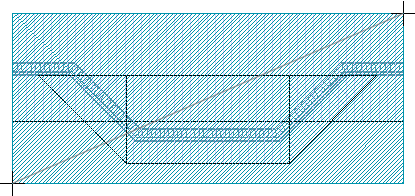
You can use this function to define the bottom chord of the
trusses by entering the support height and selecting the corner
points of the limiting area.
- Define the support height in the Plate Height dialog box in one
of the following ways:
- Type a value in the Height text field.
- Select the top height of a wall as the support height in the
following way:
- Click the From Wall button. You will be prompted: "From
which window do you want to select the wall?"
- Do either of the following:
- Select 2D, and click the wall in the drawing, if the
wall is in the open drawing-model pair.
- Select 3D, and click the wall in the model.
- Click the height in the model in the following way:
- Click the Digitize button. The model window becomes
active.
- Select a point in the model.
- Select the points of the limiting area. It is easiest to select
the points in the 2D drawing. Select the corner points one by one,
or define a rectangular area by selecting the start and end points
of the rectangle's diagonal.
- Select the Confirm function.
 Editing
extensions
Editing
extensions
Deleting slope shapes
Adding common trusses
Adding pop out bay trusses