Indoor Lighting Using Point Lights
Add indoor lighting in the interior perspective view of the
model. Set the interior view by defining the location of the
viewing point and the viewing direction in the 2D drawing. See
Defining a View in a
Drawing.
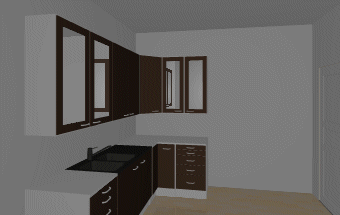
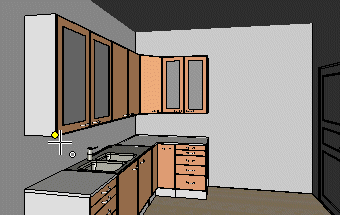
By rendering a
view you may see that the default lighting is flat, with the
exception of light that may enter through the windows.
Add point lights as follows:
- Select
 Rendering >
  Add
Light. The browser opens.
Add
Light. The browser opens.
- Select any light of the Point type from the System/Lights
folder by double-clicking a thumbnail image. The Point Light dialog
box opens.
- Select the following properties:
- Set the light attenuation to Linear.
- Set the Intensity to 600 to 1,200 (ceiling lamp) or 50
to 200 (intermediate-space lamp, such as a reading lamp).
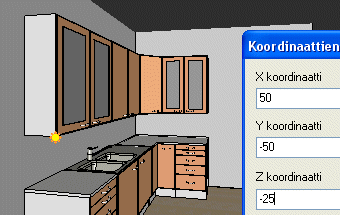
- Click the Position button and select the position in the
model. You may start by selecting a point, a line, or a surface.
The local origin is set to the selected point.
- Click the Position button again and define the relative
offset from the local origin (the point selected in the previous
step) in coordinates. You are aiming to move the light point freely
inside the room, free from geometry.
- Preview the rendered model by clicking the Render
button.
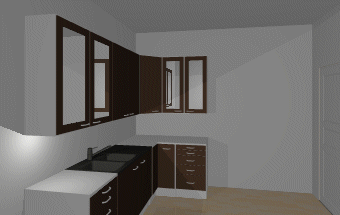
- Confirm by clicking OK.
Continue adding point lights until the whole space is
sufficiently lit.
 Adding a Light
to a Model
Adding a Light
to a Model
Distant, Point and Spot Light
Properties
 Defining a View in a
Drawing
Defining a View in a
Drawing
Visualizing a
Model
Visualization
Functions