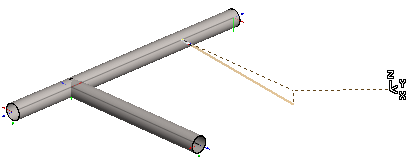
Set Slope
You can use a slope in pipe line routing if you are adding the
pipe line in the direction of the X or Y axis or in the XY
plane.
However, it is advisable to add a pipe line without a slope and
then define the slope afterwards, see Edit
Slope.

 The slope is used in laying the pipe line until you disable it.
You can add a slope as follows:
- Do either of the following:
- Select
 Pipings >
  Add Pipe
Line.
- Select
 Pipings >
  Add Duct
Line.
- Select properties in the fields of the contextual toolbar.
 Pipe or Duct Line
Properties
- Indicate the starting point for the center line.
- Lock the cursor as a ruler in the direction of the X or Y
axis.
- Select
 Set
Slope from the contextual toolbar.
- Define the slope information in the dialog box.
For example, define the slope as a degree value or ratio in the
dialog box. The standard slope is presented as degrees and a ratio
on the status bar.

 Set Slope Dialog Box
- Continue by clicking a pipe line point in the direction of the
X axis, the Y axis or the Horizontal(XY) plane.
Disabling the Slope
You can disable the slope while modeling a pipe line as
follows:
- Select
 Set Slope from the contextual toolbar and
enter 0 as its value.
- Select a grip point of a pipe component in the direction of the
X, Y or Z axis as the starting point. The sweep direction is
inherited from the grip point.
 Note
Note
- Angle tolerance affects slope editing. See Set Connection Tolerance for
Parts.
- If you continue routing a pipe line from a pipe component that
was positioned with a slope, the same slope value will be used for
the new pipe.
- If you wish to remove a slope from a pipe, you must delete the
pipe and add it again with no slope.
 Add a Pipe or
Duct Line
 Pipe or Duct Line
Properties


![]() The slope is used in laying the pipe line until you disable it.
The slope is used in laying the pipe line until you disable it. Set
Slope from the contextual toolbar.
Set
Slope from the contextual toolbar.![]()
![]() Add a Pipe or
Duct Line
Add a Pipe or
Duct Line![]() Pipe or Duct Line
Properties
Pipe or Duct Line
Properties