Example
Adding a Ridge Beam
In this example, a log beam is added between two log walls. A
joint is created between the beam and the end walls. The beam is
then moved vertically by tiers so that its top edge is located as
close as possible to the line determined by the top edge of the
wall and the selected pitch.
Generating a Log Beam
Creating a Joint
Moving a Log Beam
Generating a Log Beam
- Select
 Log Walls >
  Generate Log Beams.
- Select the first log wall.
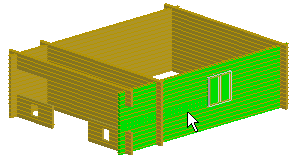
- Select Confirm.
- Select the second log wall.
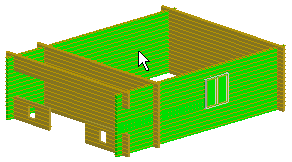
- Select Confirm.
- Select the log beam properties in the dialog box. Make the
following selections:
- Number of beams: 1
- Number of full logs in a beam: 4
- Select the Bottom log always full check box
The other selections are unnecessary in this example: the walls
are of the same height, so the beam will automatically be located
in such a way that its top edge is at the level of the top of the
walls. Only one beam is added, so it will automatically be located
in the middle of the walls.
Click OK to close the dialog box.
Creating a Joint
- Activate the floor plan by pressing F2.
- Select
 Walls >
  Create T
Connection.
- Select one of the end walls as the target wall.
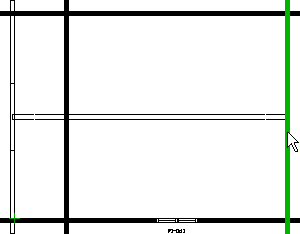
- Select the end of the beam to be trimmed.
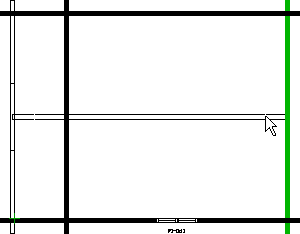
- Select Confirm.
- Trim the other end of the beam to the other end wall in the
same way. Select an end wall and the end of the beam.
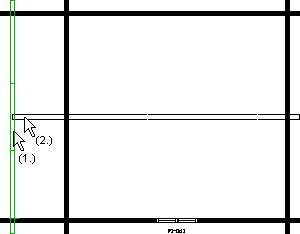
- Exit the function by pressing Esc.
- Activate the 3D model by pressing F2.
Moving a Log Beam
- Select
 Log Walls >
  Match
Log Walls to Roof Pitch.
- Select a fixed wall.
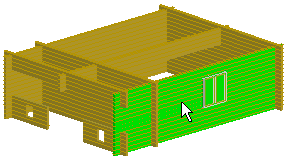
- Select Confirm.
- Select the beam to be moved.
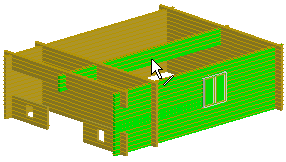
- Select Confirm.
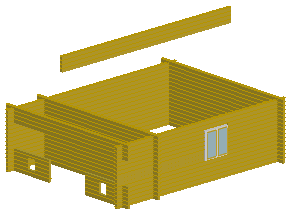
- Select the method of moving in the dialog box. Make the
following selections:
- Select the Pitch radio button and type 1.000 in the text
field
- Select the Move walls vertically by tiers radio
button.
Click OK to close the dialog box.
 Note
Note
- The beam is moved as close as possible to the selected pitch.
The actual pitch may, however, be smaller or larger than the
selected pitch. You can check the pitch by reselecting the
 Log Walls >
  Match
Log Walls to Roof Pitch function. Select the wall and beam as
above and select Confirm. The Pitch field of the
dialog box will display the actual pitch.
- You can add a roof to the top of the side walls and the log
beam, see example: Setting a Roof on Top of
Log Walls And a Log Beam.
 Generating
Log Beams
 Moving a Log Wall to Roof
Pitch


