Example
Adding Logs by Copying
In this example, logs are added to a wall using the general
object function Copy. The logs are copied in the elevation
of a wall.
Opening the Elevation of a Log Wall
Copying Logs
Returning to Floor Plan and Model
Opening the Elevation of a Log Wall
- Select a log wall.
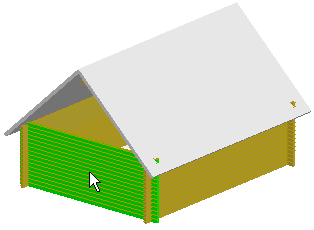
- Right-click to open the context-sensitive menu.
- Select
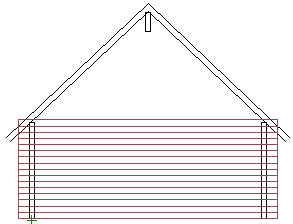
 Edit Log Wall Shape. The elevation
of the log wall is opened in a separate drawing window.
Copying Logs
- Select
 Selection Filter from the
toolbar.
- Select Profiles as the object type in the Selection
Filter dialog box. The other selections are removed. Close the
message box by clicking the OK button.
- Select the logs to be copied using area selection.
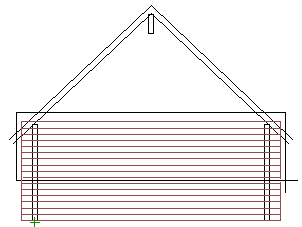
- Right-click to open the context-sensitive menu.
-
Select Copy.
-
Select a reference point.
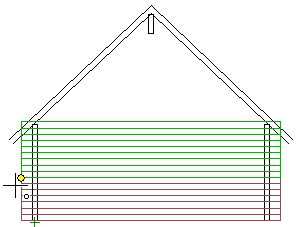
- Select the location.
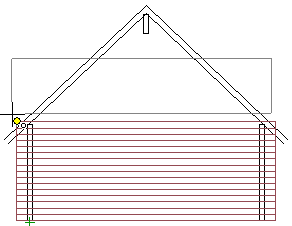
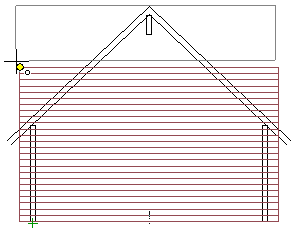
- Exit the function by pressing Esc.
Returning to Floor Plan and Model
- Close the elevation of the log wall by clicking the Close
button of the window
 .
.
- Save the changes by selecting Yes in the message box.

The wall geometry is updated in both the floor plan drawing and
the model.
 Edit Log
Wall Shape


 .
.