- Exterior sheathing
- Interior sheathing
|
Framer |
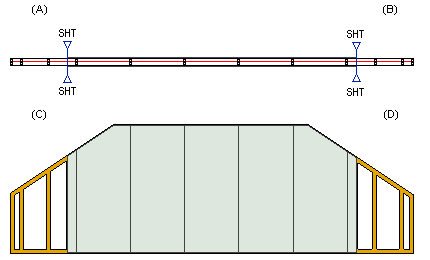
The default sheathing start and end points are defined in the sheathing details in the system settings. You can define a start and end point that differ from the default by adding a panel macro in the floor plan drawing.
In the example figure below, the start point of exterior sheathing (A), the end point of exterior sheathing (B), the start point of interior sheathing (C) and the end point of interior sheathing (D) have been marked on the floor plan drawing.

| Converted from CHM to HTML with chm2web Pro 2.85 (unicode) |