- Double-click the component in the model.
- Select the component in the model, right-click to open the context-sensitive menu and select Properties.
- Open the
 Rendering branch in the object tree,
and double-click the component.
Rendering branch in the object tree,
and double-click the component.
The Lamp Control dialog box opens.
- Name: Enter a name for the lamp component. The name will be used in the object tree and in the light table.
- Check box On: Switch the light on or off. The more there are lamp components with light on in the model, the slower the rendering process gets.
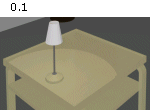
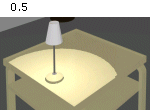
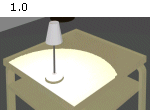
- Adjust the light intensity by moving the Intensity
slider or type a value between 0 and 1 in the text field. The
higher the intensity, the slower the rendering process gets.
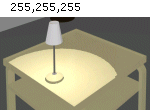
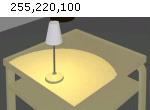
- Change the color of the light by moving the Red,
Green and Blue sliders, or type the desired values
between 0 and 255 in the text fields.