|
Architectural, Framer |
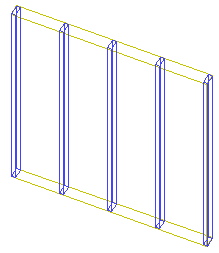
A wall added to the model is a volume. The frame of the wall has no geometry in the model. Usually, the frame is created by designing wall panels (the feature is included in the Vertex BD Framer product). Alternatively, you can create the wall frame by attaching frame members, such as columns and beams, to the wall volume.

First, add the wall and the frame members to their right positions. Then attach the frame members to the wall in the following way:
![]() Wall Or Frame Lines
Wall Or Frame Lines
![]() Advanced Wall Functions
Advanced Wall Functions
| Converted from CHM to HTML with chm2web Pro 2.85 (unicode) |